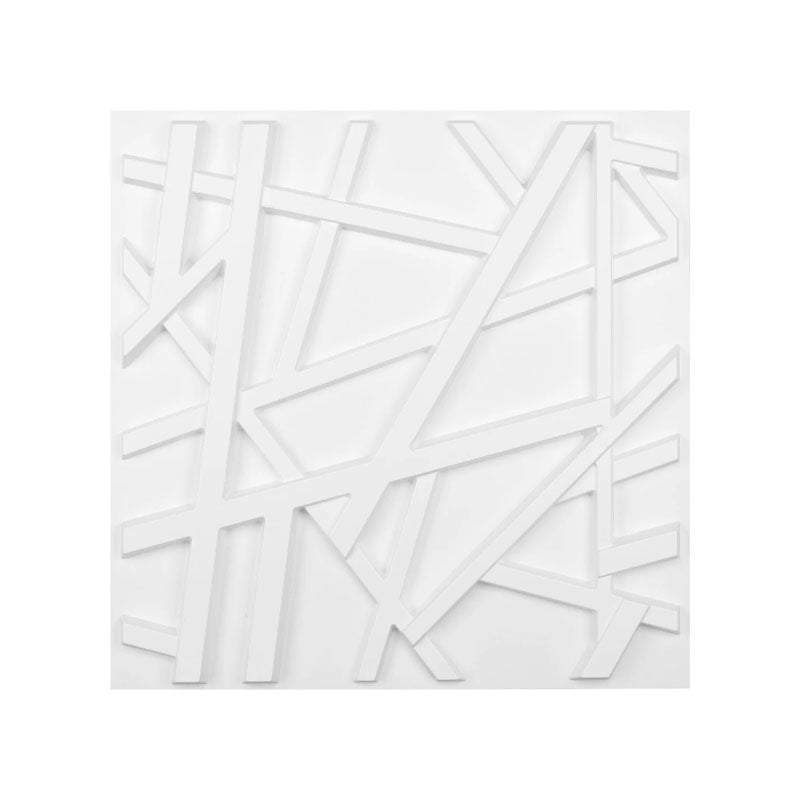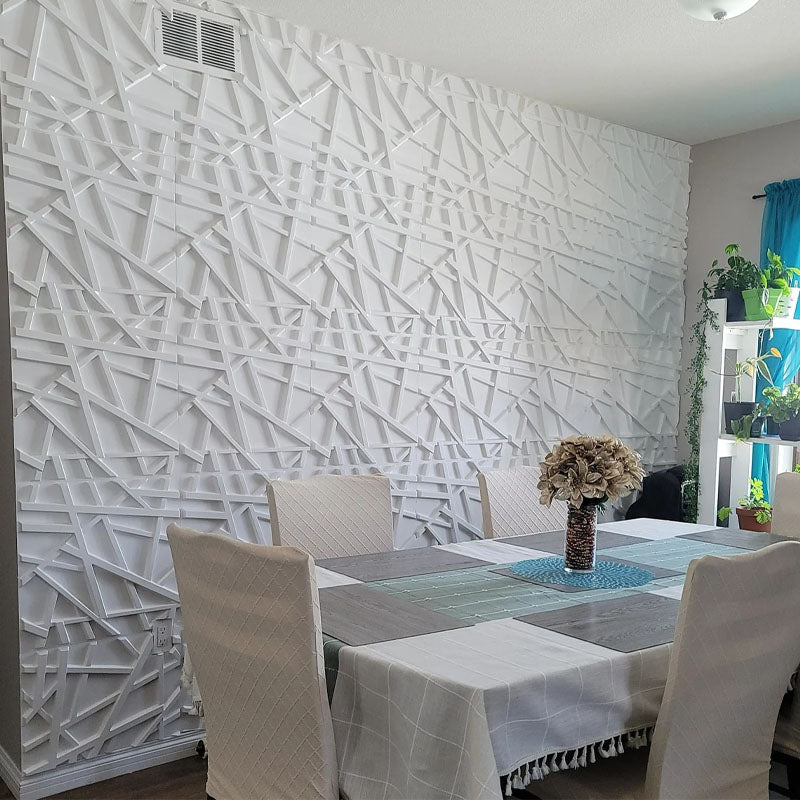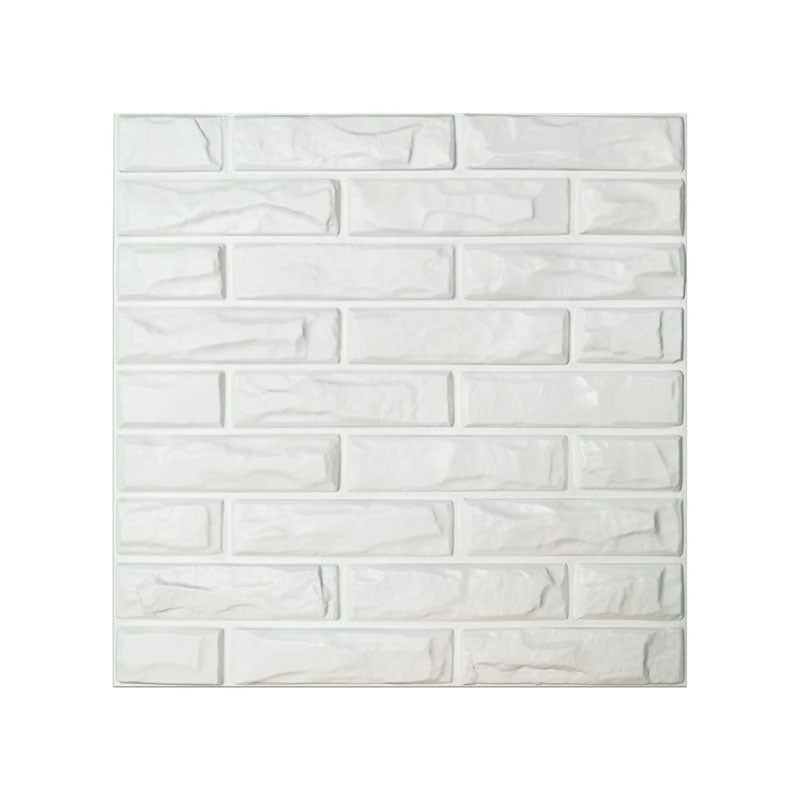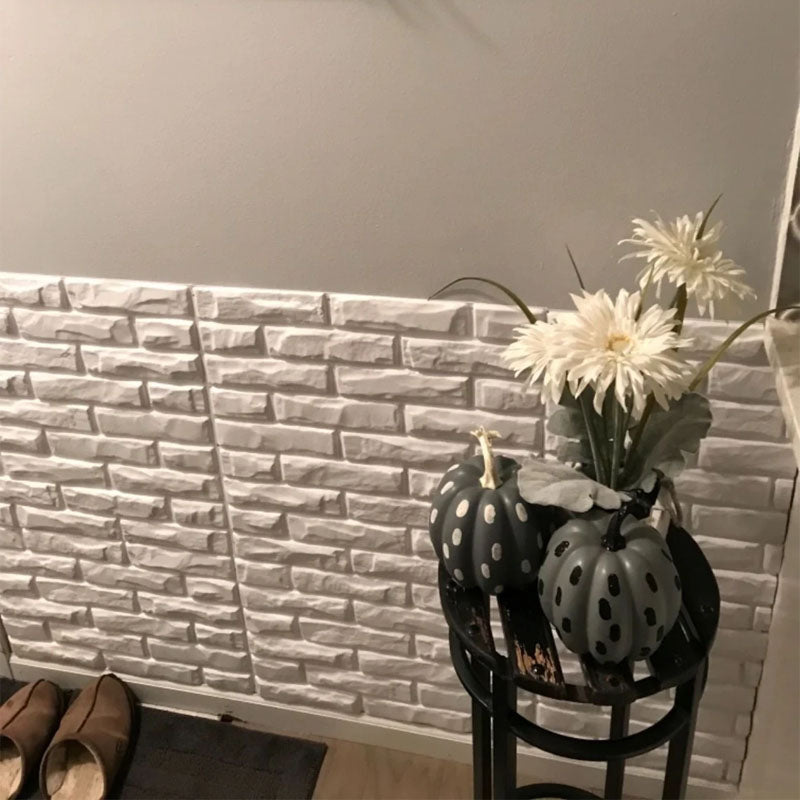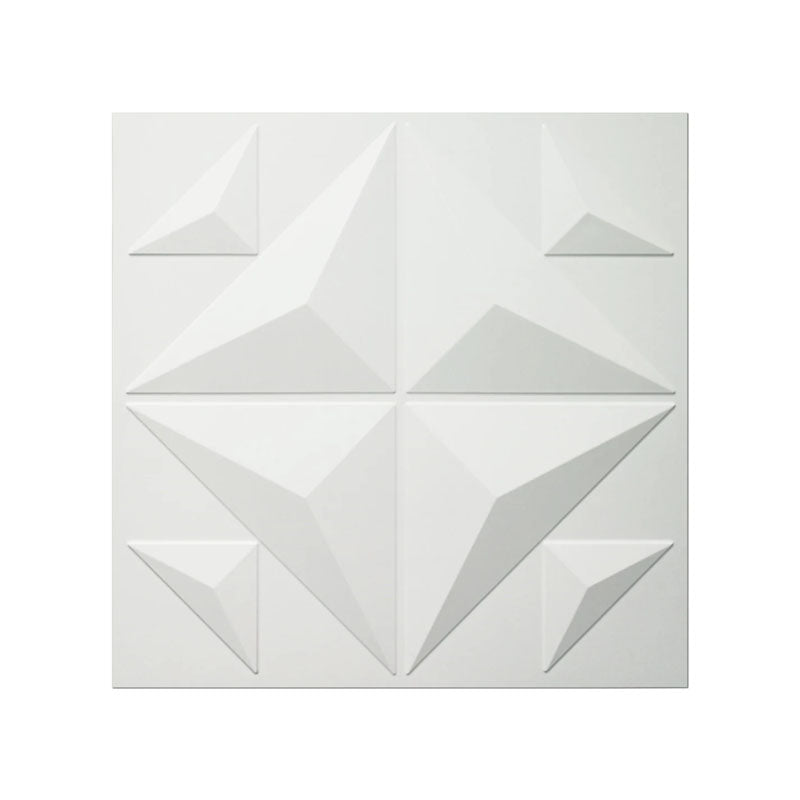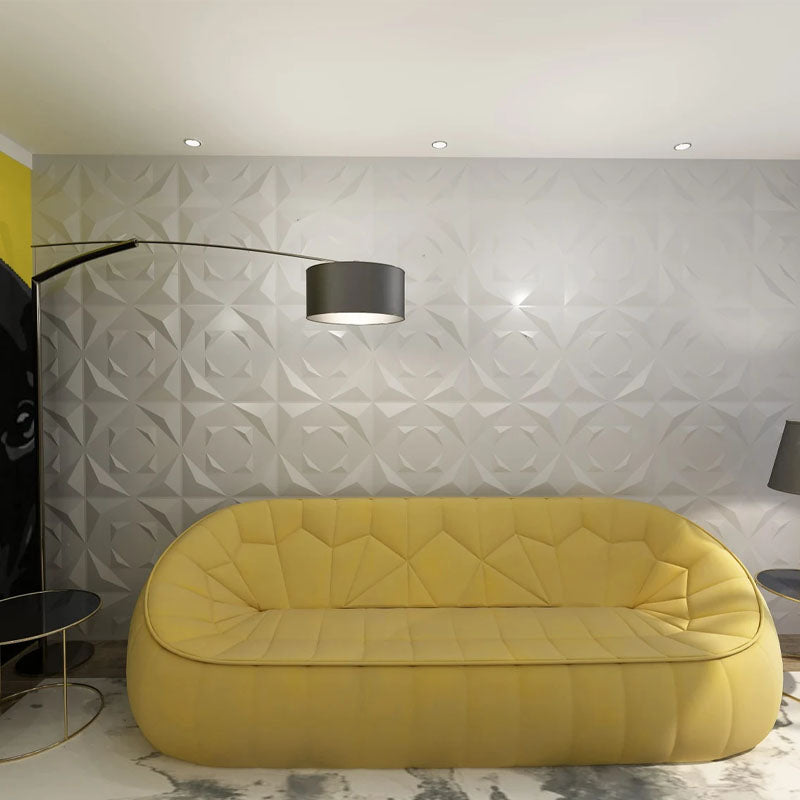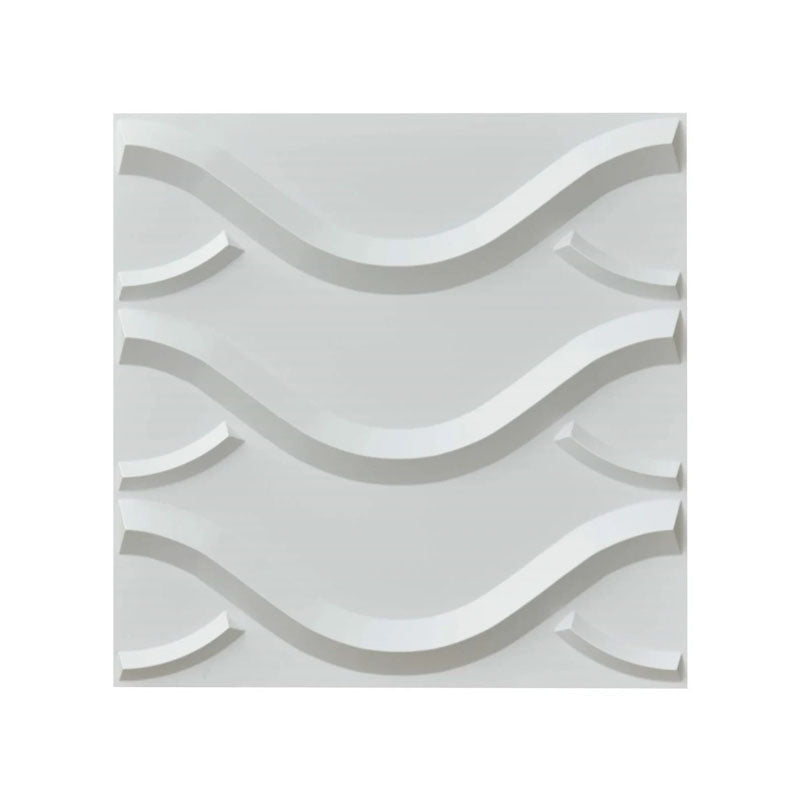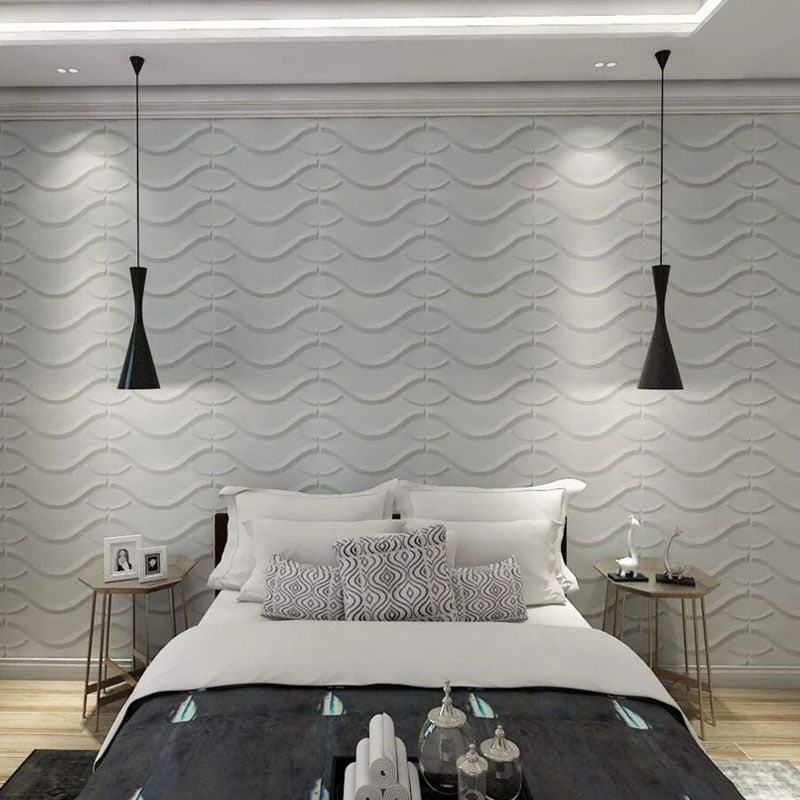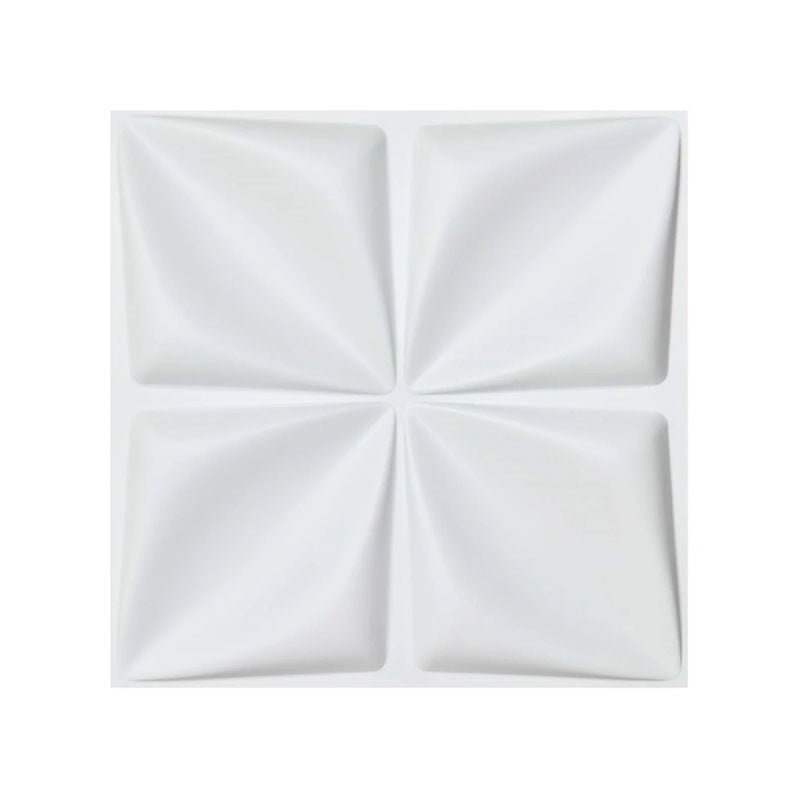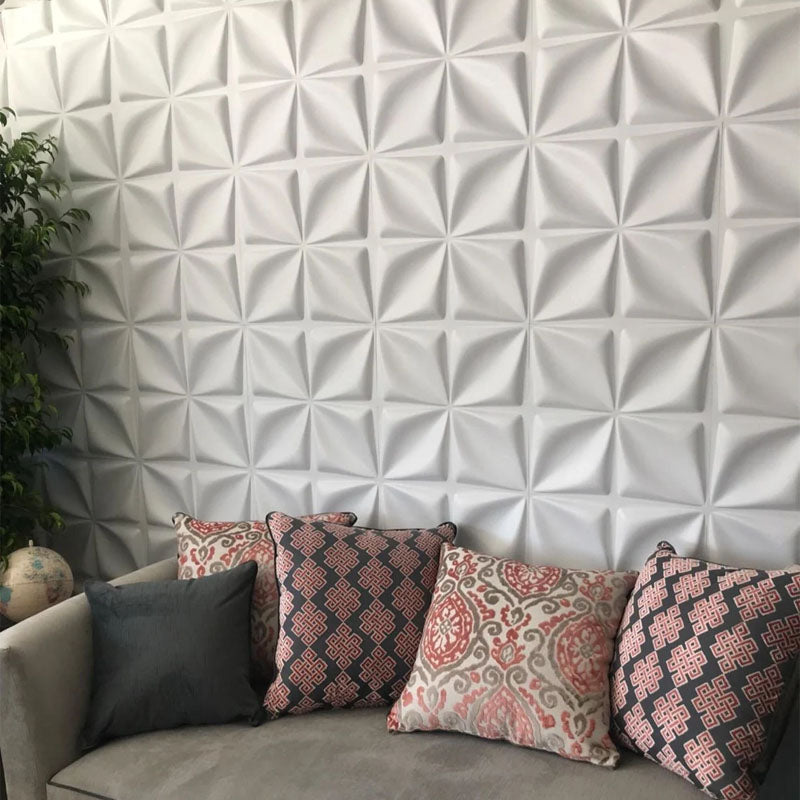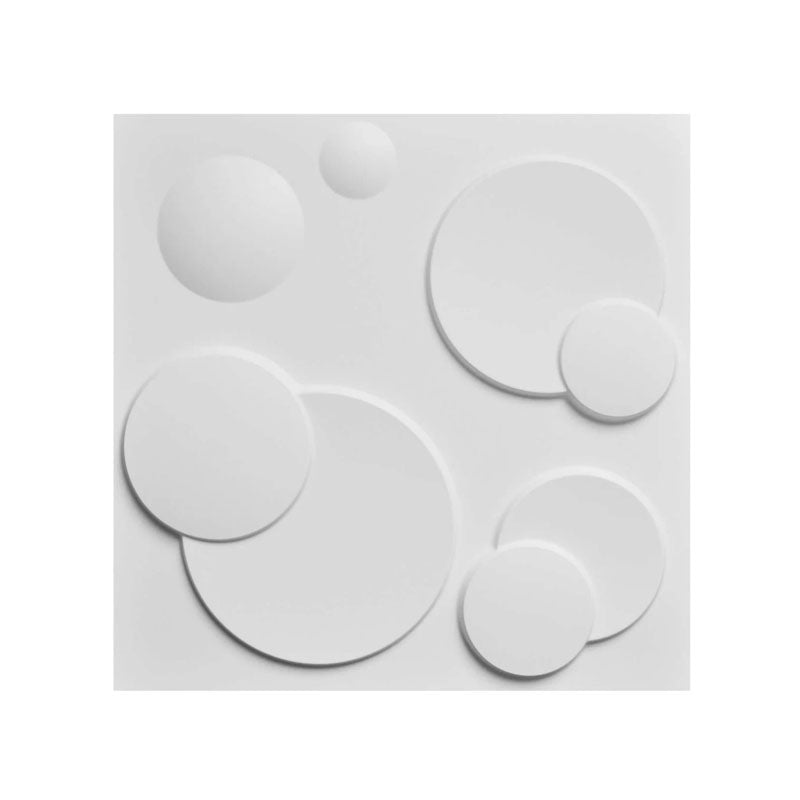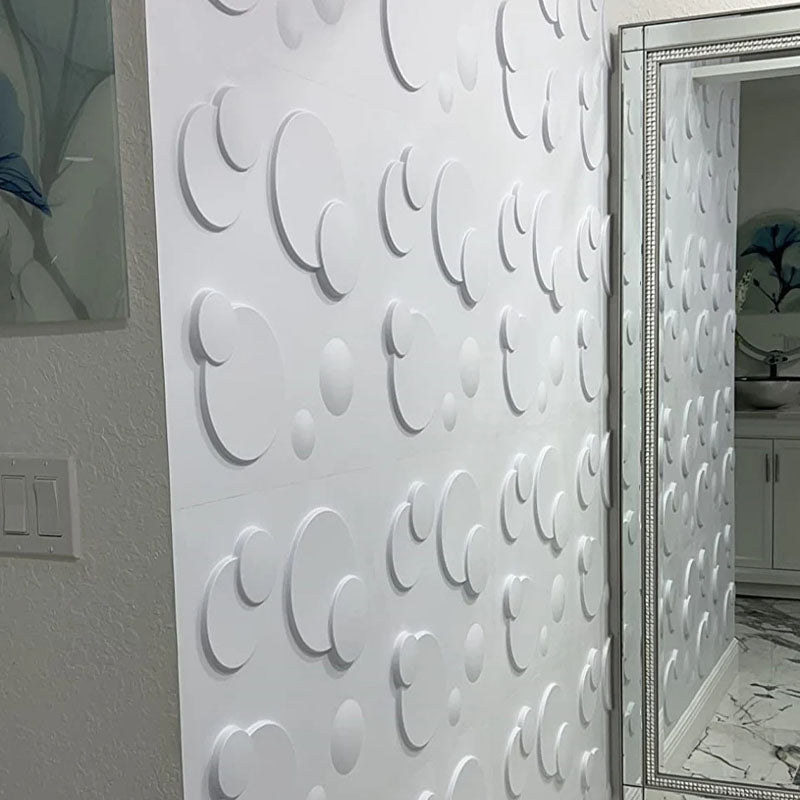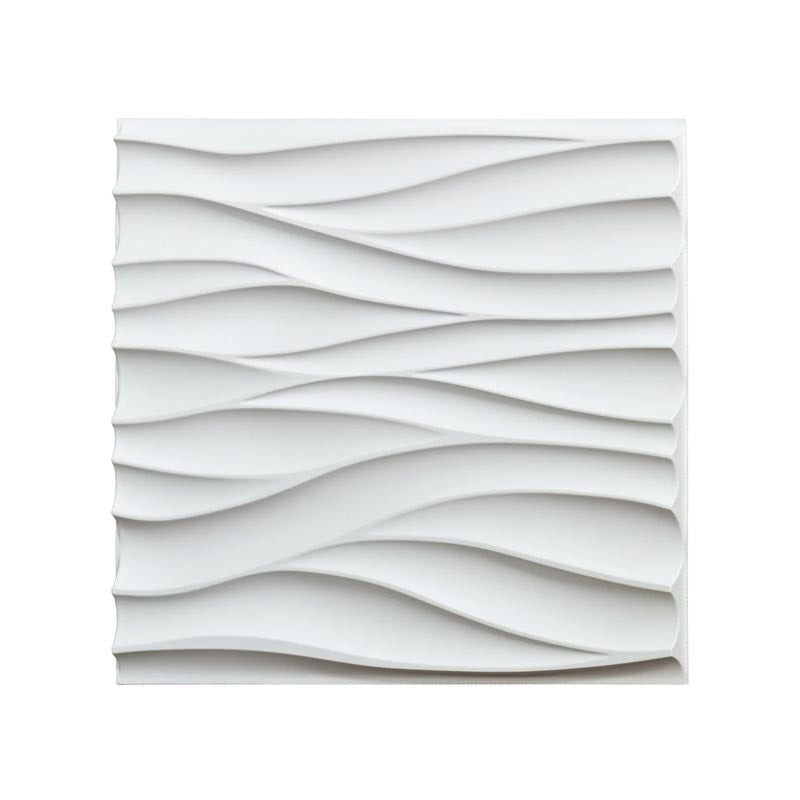
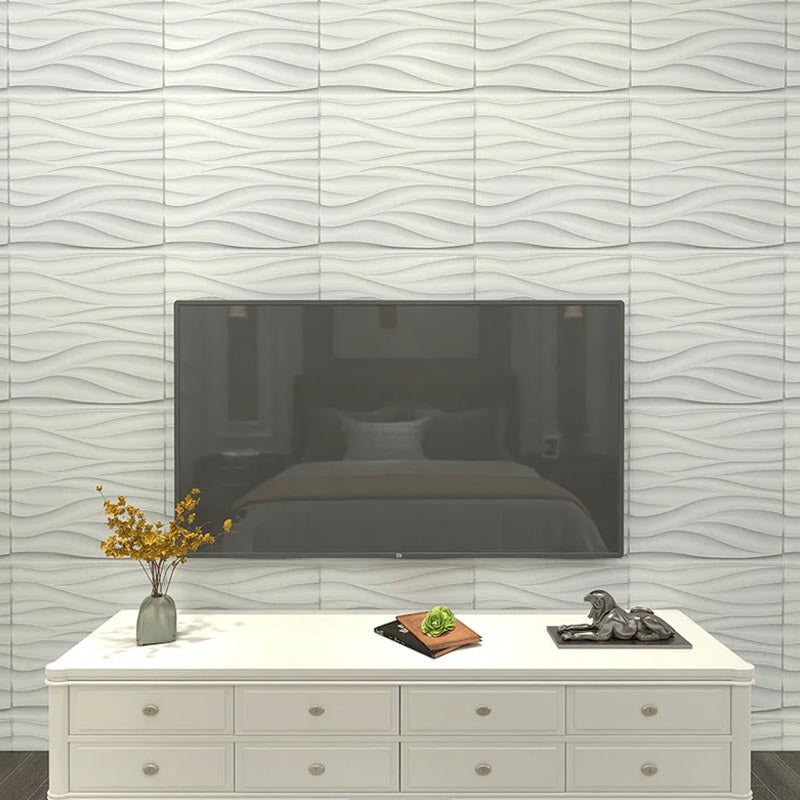
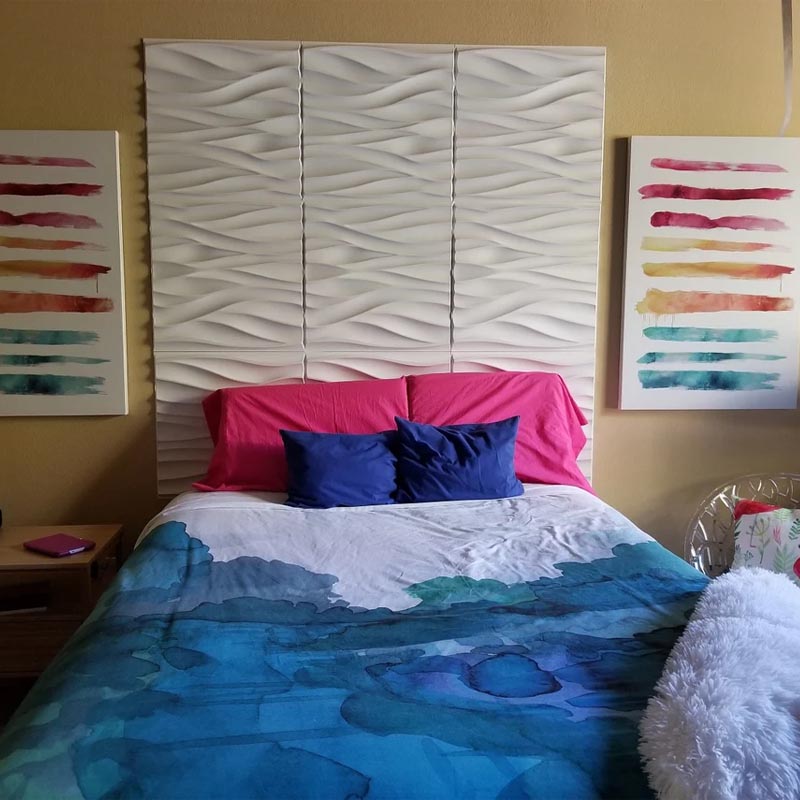
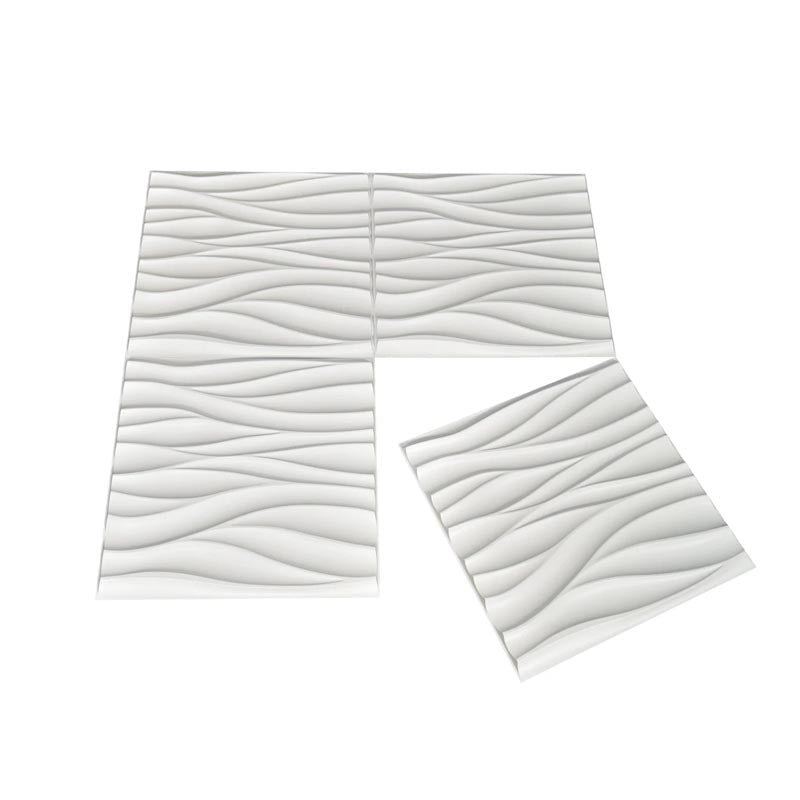
Swing PVC 3D Wall Panel

Primary color

Are you looking for a way to update your home? Are you tired of the same old white walls?

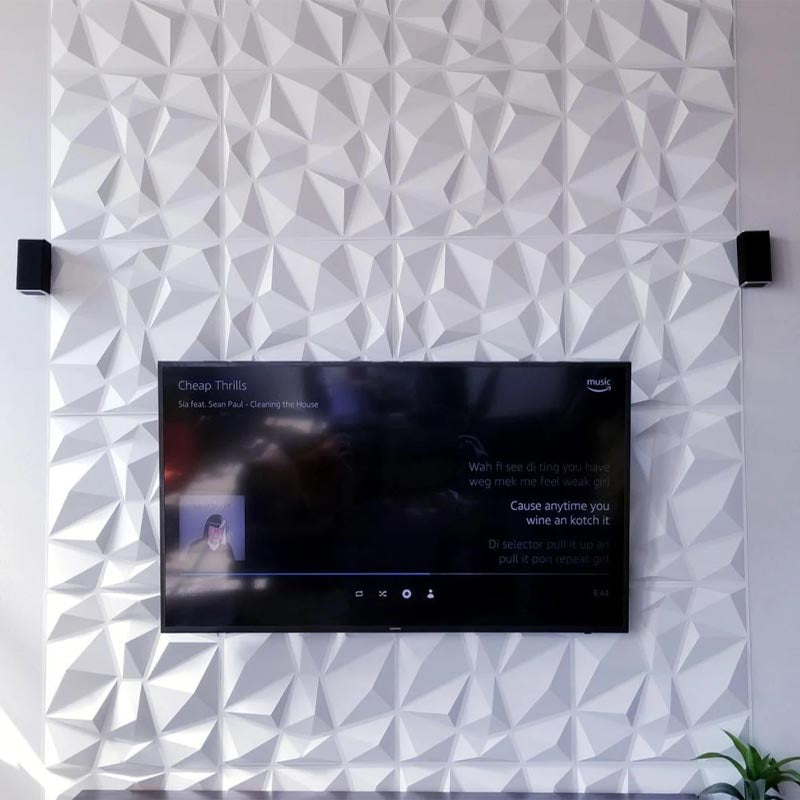
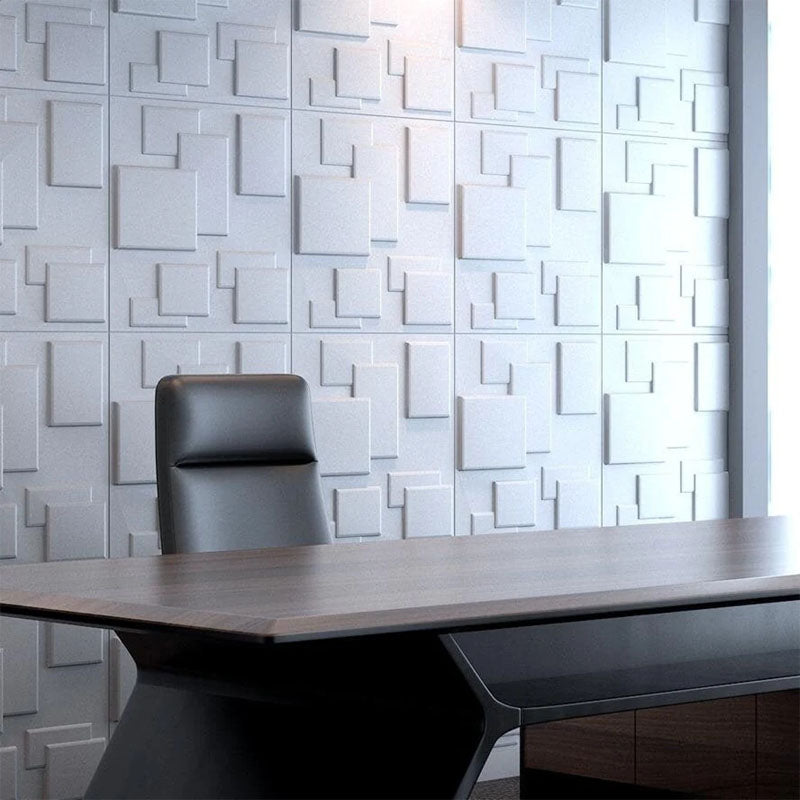
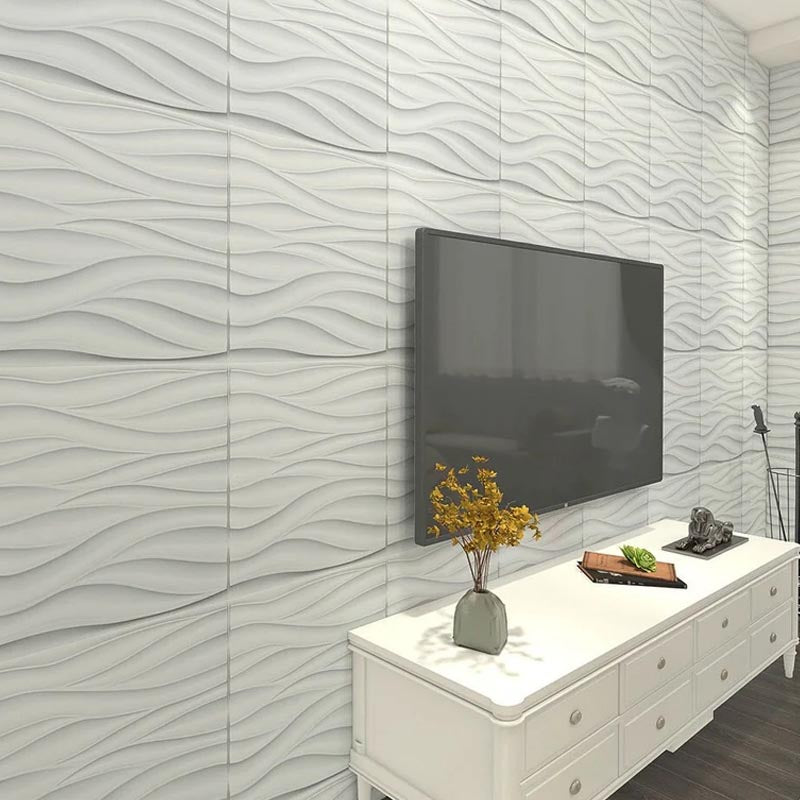
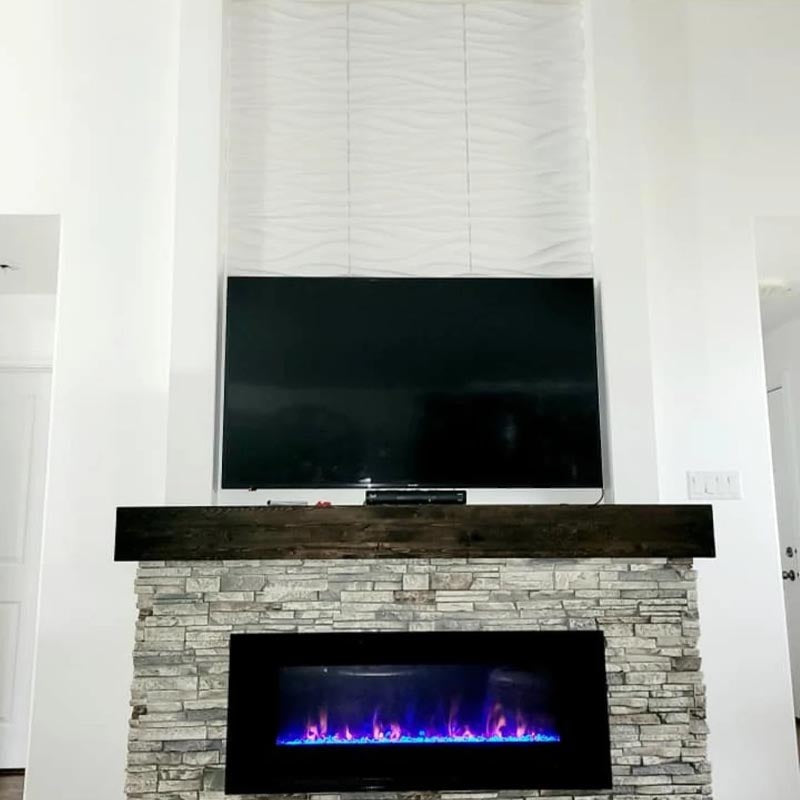
If so, we have the solution for you! With our PVC 3d wall paneling, you can create the look of a professional interior designer in just a few hours! This lightweight, flexible material is easy for even the most novice DIYers to install, allowing you to transform any space with beautiful and luxurious finishes.

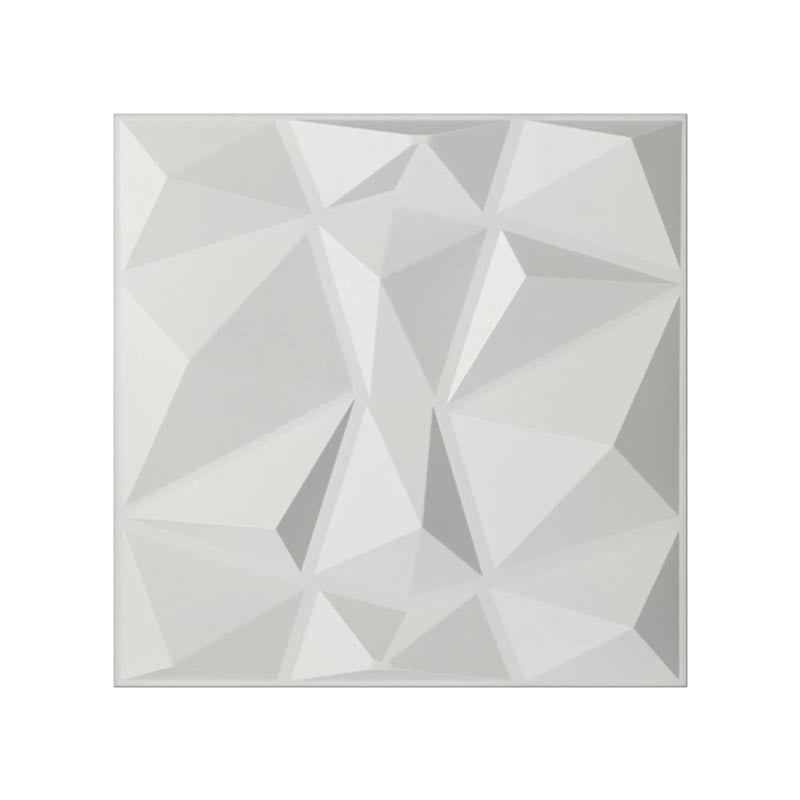
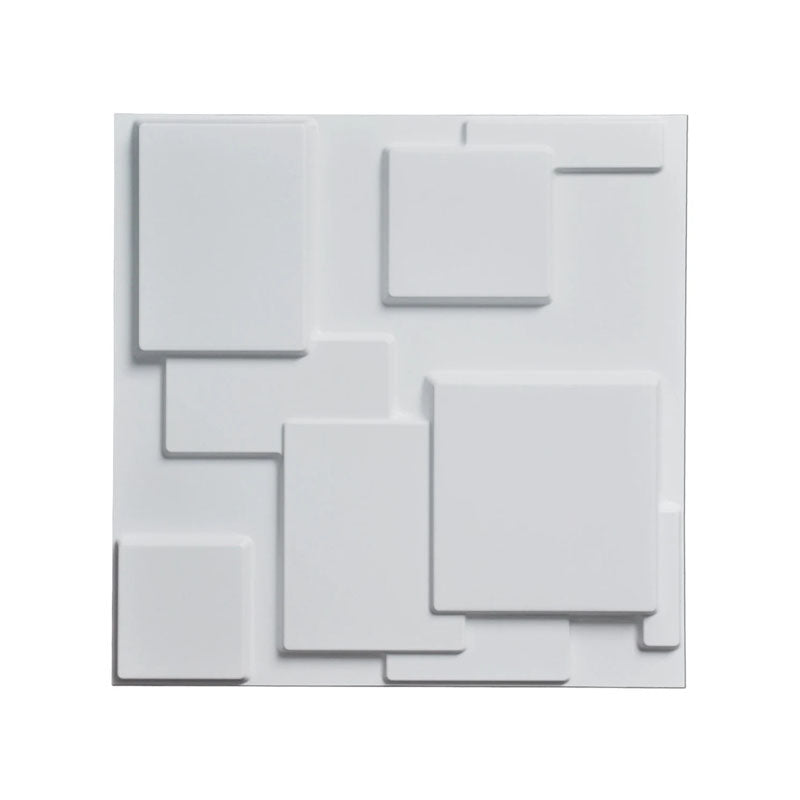
Our PVC 3d wall paneling comes in a variety of designs that match any decor in your home and are easy to cut with scissors or a utility knife. You can also choose between using construction adhesive or double-sided tape for installation.

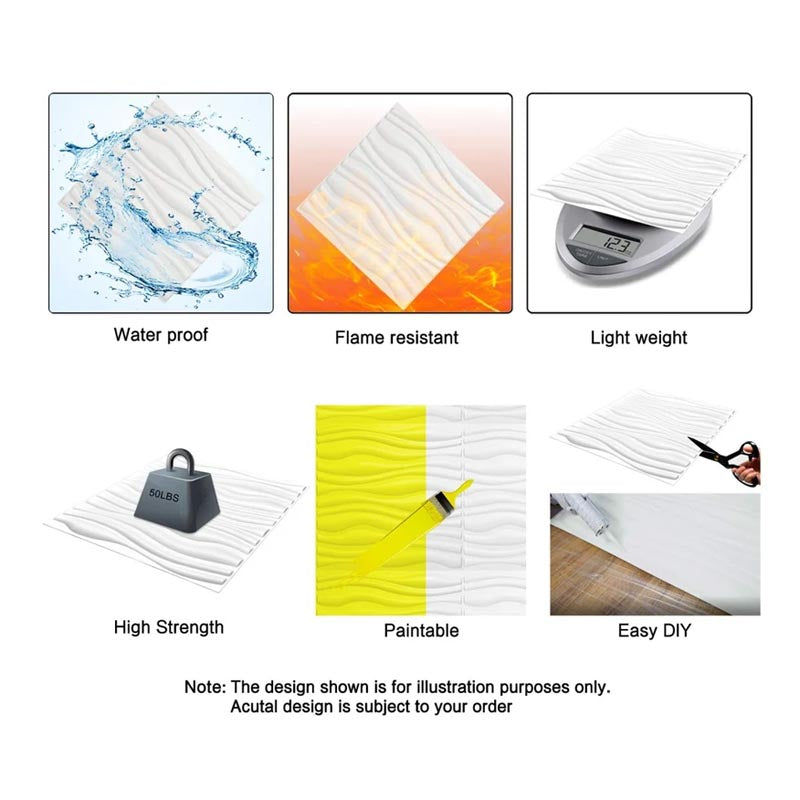
But don't worry—these panels aren't just pretty faces. They're also waterproof, rust-proof, and mold-proof so they'll last as long as possible without requiring expensive maintenance or repair work down the road.

Details:

  • Set of 12 (32 sq ft.)
  • 3 sqm = 32 sq ft.
  • Sound Blocking
  • Water Resistant
  • Material: PVC
  • Size:
    • 500*500 mm
    • 19.7*19.7 inches
  • Embossed Height: 10mm (0.05")

INSTALLATION NOTE:

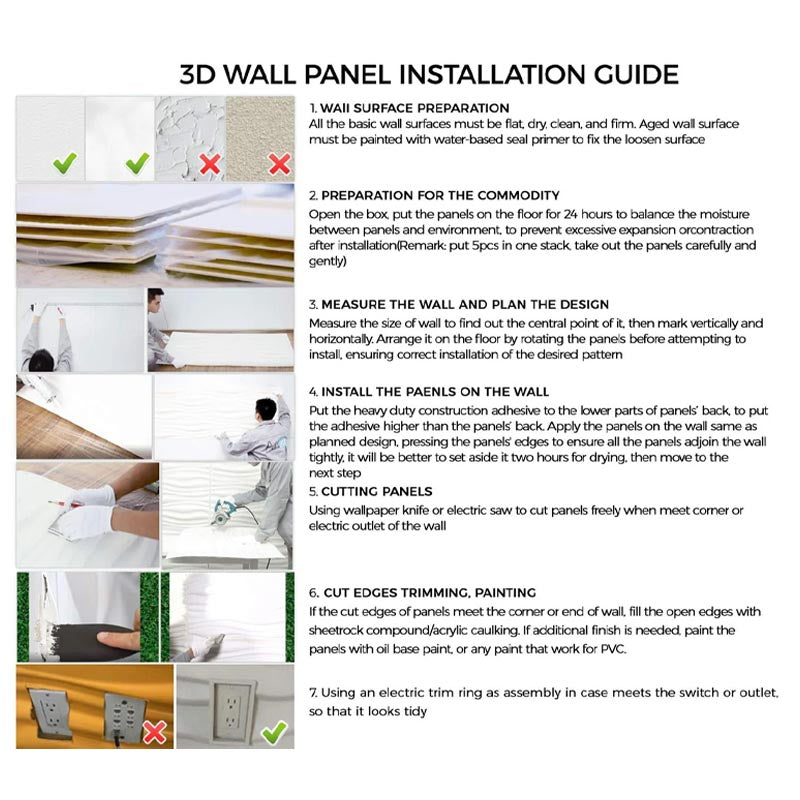
1- WALL SURFACE PREPARATION
All the basic wall surfaces must be flat, dry, clean, and firm. The aged wall surface must be painted with water-based seal primer to fix the loosened surface.

2- MEASURE THE WALL AND PLAN THE DESIGN
Please measure the size of the wall to find out its central point, then mark it vertically and horizontally. Arrange it on the floor by rotating the panels before attempting to install it, ensuring the correct installation of the desired pattern.

3- INSTALL THE PANELS ON THE WALL
Put the heavy-duty construction adhesive on the lower parts of the panel back, to put the adhesive higher than the panel back. Apply the panels on the wall the same as the planned design, pressing the panels' edges to ensure all the panels adjoin the wall tightly, it will be better to set aside two hours for drying, then move to the next step.

4- CUTTING, TRIMMING PANEL EDGES, AND PAINTING
Using wallpaper knife or electric saw to cut panels freely when meeting corner or electric outlet of the wall. If the cut edges of panels meet the corner or end of the wall, fill the open borders with sheet rock compound/acrylic caulking. If an additional finish is needed, paint the panels with oil base lacquer.

Customer Reviews

Based on 55 reviews
93%
(51)
7%
(4)
0%
(0)
0%
(0)
0%
(0)
A
Alexander Porter

I believe these are awesome like other customers said they’re thin but definitely durable I don’t believe they would break easy unless hit hard. The shipping was awesome it came fast! This is our project for this weekend for my son’s gaming wall he’s super excited!!

A
Angela Rios

I love these panels, they were easy to install and fell durable

K
Kathy Payne

I am pleased with the product and look forward to ordering again!!

C
Carolyn Morrison

Very cool and reasonably priced.

L
Lisa Ramirez

Product was as described and customer service was excellent!